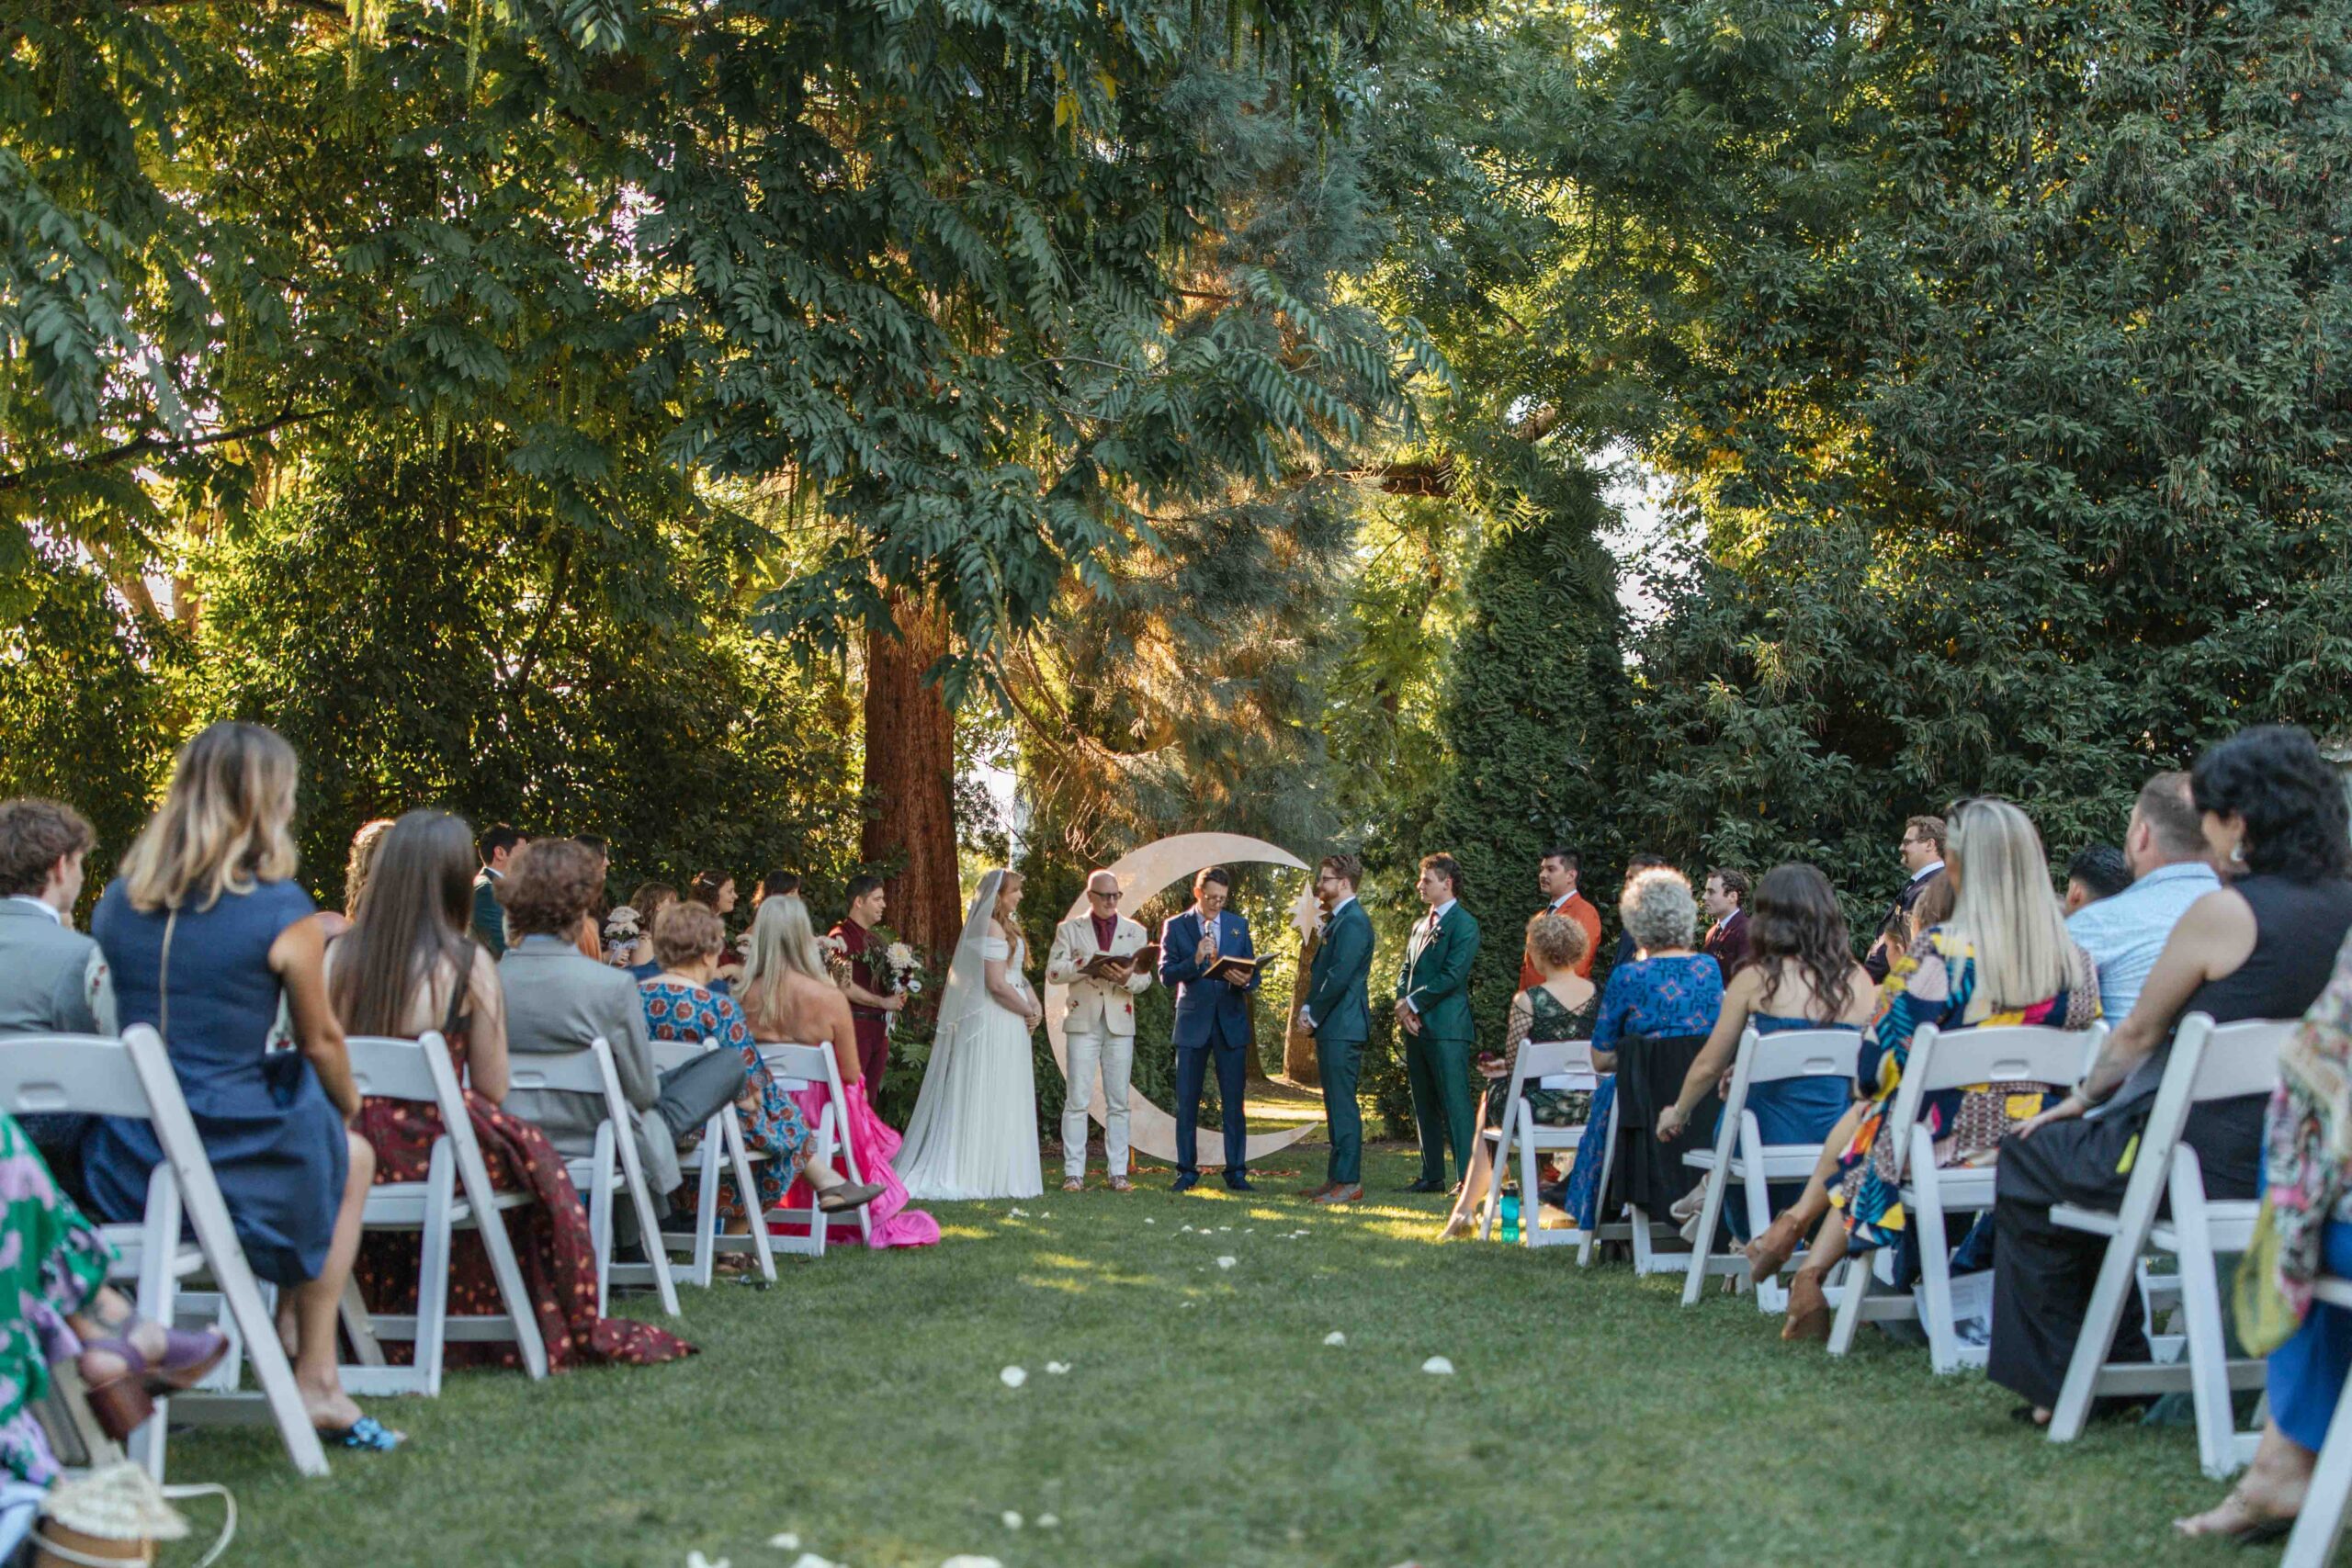
Planning a wedding can be challenging and extremely stressful without a thought out timeline. A well-organized wedding day timeline helps the day flow, ensures smooth transitions between events, and keeps vendors on track. In this post, I cover the benefits of a wedding timeline and provide a step-by-step guide to creating one that works for you. I also include detailed sample timelines and tips for customization!
Why A Wedding Day Timeline Is Essential
A detailed wedding day timeline offers several advantages:
- Reduces Stress: Breaking the day into scheduled segments helps manage time effectively and prevents last-minute rushes.
- Enhances Communication: A clear schedule makes it easier for vendors and the wedding party to understand their roles and responsibilities.
- Keeps Events on Track: Structured timing ensures that key events, such as the ceremony, photos, and reception, occur as planned.
Your wedding day timeline can be as simple or as detailed as you’d like it to be. I’ve seen everything from a binder full of details about the timeline of a wedding, to a simple list of events and times typed out in Notes on somebodies phone. Something somewhere between these two is probably going to be the best goal for most couples.
Five Steps to Creating the Perfect Wedding Day Timeline
Step One: Determine Your Wedding Day Priorities
Begin by identifying the big key moments that need to be scheduled. This can very depending on the size and length of the wedding celebration. Feel free to start out by just putting this in a list format, no need to worry about times – we’ll get to that in the next step. Common priorities include:
- Ceremony
- First look (if you are having one)
- Family and group photos
- Reception events (dinner, speeches, first dance, cake cutting)
Focus on what matters most to you, and list these priorities in the order they will occur during the day.
Step Two: Outline Your Ceremony and Reception Details
Take your Priorities List and write clear start and end times for each segment OR write out a ball park idea of how long you think each thing will take. If you aren’t sure about the time-frame, feel free to use my example timelines listed later in this blog for reference. Here’s an example:
- Morning Preparations: Allocate time for hair, makeup, and any other pre-wedding tasks.
- Ceremony: Specify when the ceremony will start and end.
- Transition Period: Include time for moving from the ceremony to the reception. For example if you are having a cocktail hour and will be taking family photos or bridal photos during this time.
- Reception: List the schedule for dinner, speeches, cake cutting, and other planned events.
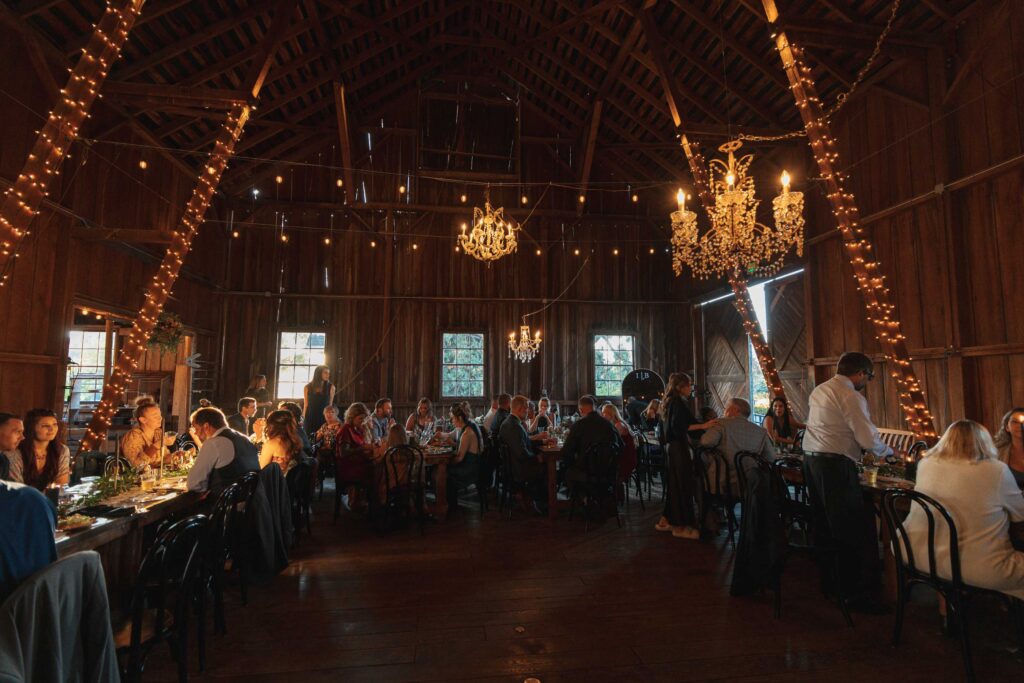
When planning out the timing for each segment of the day, usually it’s best to err on the side of a little too much time. It’s extremely common for things to fall behind schedule during a wedding day, so adding some buffer time can help put you at ease.
Step Three: Coordinate with Vendors and the Wedding Party
Once your timeline draft is ready, share it with all vendors and the wedding party. Consider the following:
- Vendor Communication: Ensure that photographers, caterers, DJs, and other vendors are aware of the schedule.
- Planning Meetings: Organize a meeting with key participants to discuss the timeline and address any potential issues. Whether you have a day-of coordinator or a designated family member, be sure that they are on the same page about the timeline for your day.
This step is crucial for wedding vendor timeline coordination and helps avoid misunderstandings on the day. Be sure that your photographer is on the same page and ask how long they think family photos, bridal photos, etc. will take based on your wedding size and wants.
Step Four: Incorporate Buffer Times and Flexibility
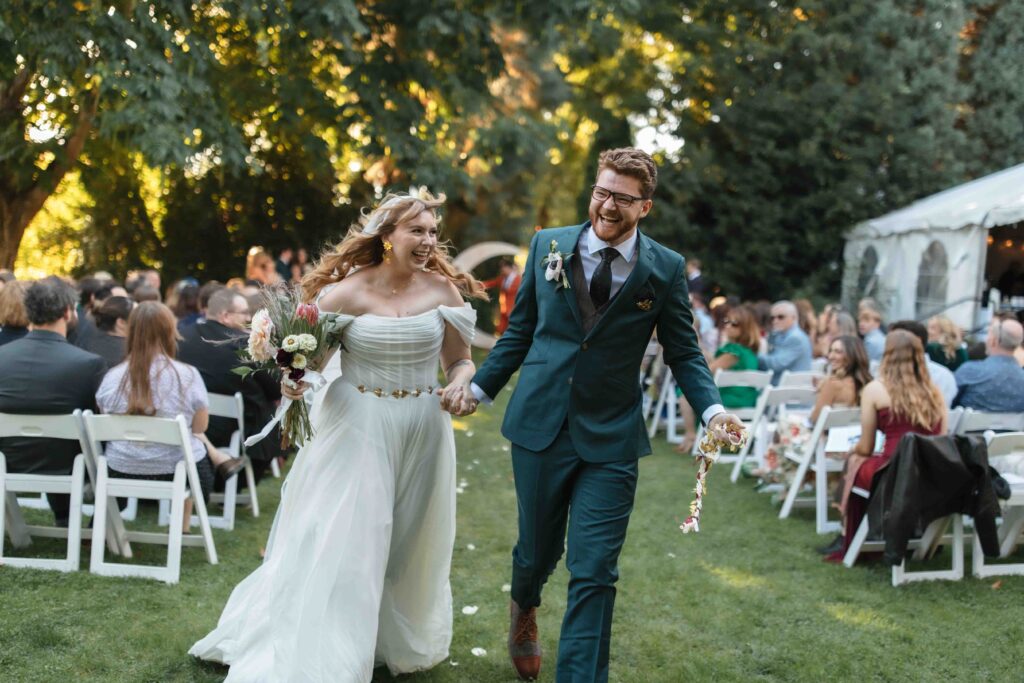
It is important to add extra time between key events to handle any unexpected delays. Consider the following:
- Buffer Time: Add 10-15 minutes between major segments to allow for overruns or last-minute changes.
- Flexibility: Keep your timeline adaptable. Adjusting as needed can help keep the day running smoothly if issues arise.
Out of all of the weddings that I’ve photographed, I don’t think I’ve ever experienced a wedding that was 100% on time for the whole day. You need to expect that things might come up and having some flexibility if need be. Whenever I’ve had a stressed bride on a wedding day, I always tell them that your guests are there to celebrate YOU. If you’re running 10 minutes behind for your ceremony your guests aren’t going anywhere, usually people are chatting and visiting as they wait anyhow.
Step Five: Finalize and Share Your Timeline
After gathering input from vendors and the wedding party, finalize your timeline:
- Review and Adjust: Make any necessary changes based on feedback.
- Distribute the Final Version: Share the timeline with all involved parties, including vendors, venue managers, and the wedding party.
Your vendor should (hopefully) check in with you around 2-4 weeks leading up to your wedding day to go over the final timeline, but if they don’t – be sure to reach out.

8 Hour Timeline
(w/ First Look)
12:00pm Bridal Hair + Makeup
1:30pm Photographer Arrives
1:35pm Photographer Captures Detail Shots
2:00pm Hair and Makeup is Complete
2:30pm Put on Dress
3:00pm First Look
3:15pm Couples Portraits
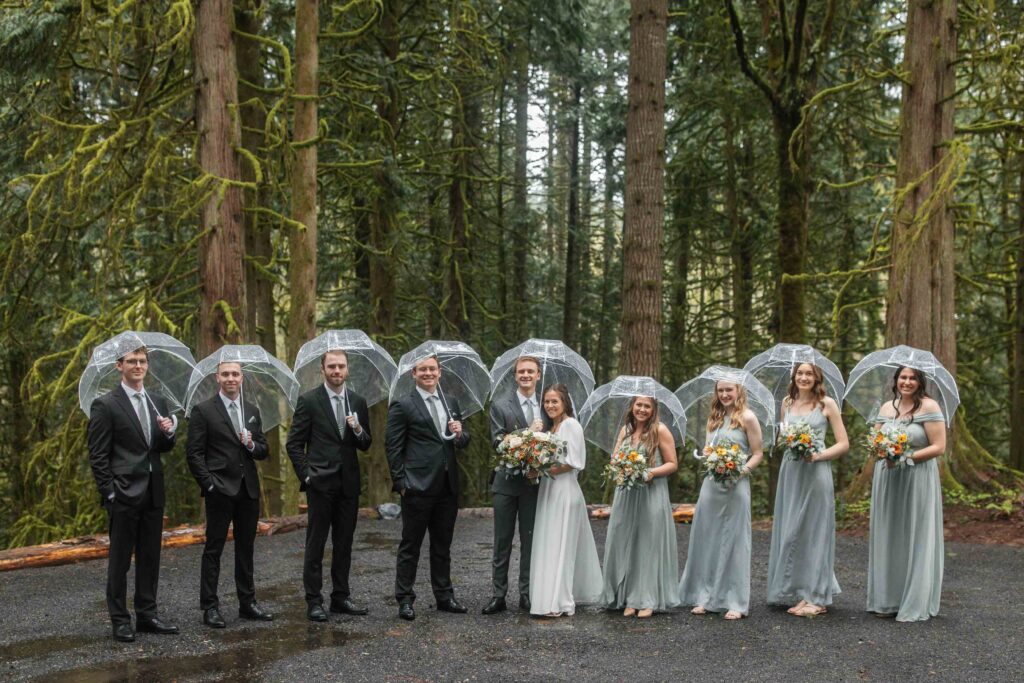
4:00pm Bridal Party Photos
4:30pm Down Time/Freshen Up
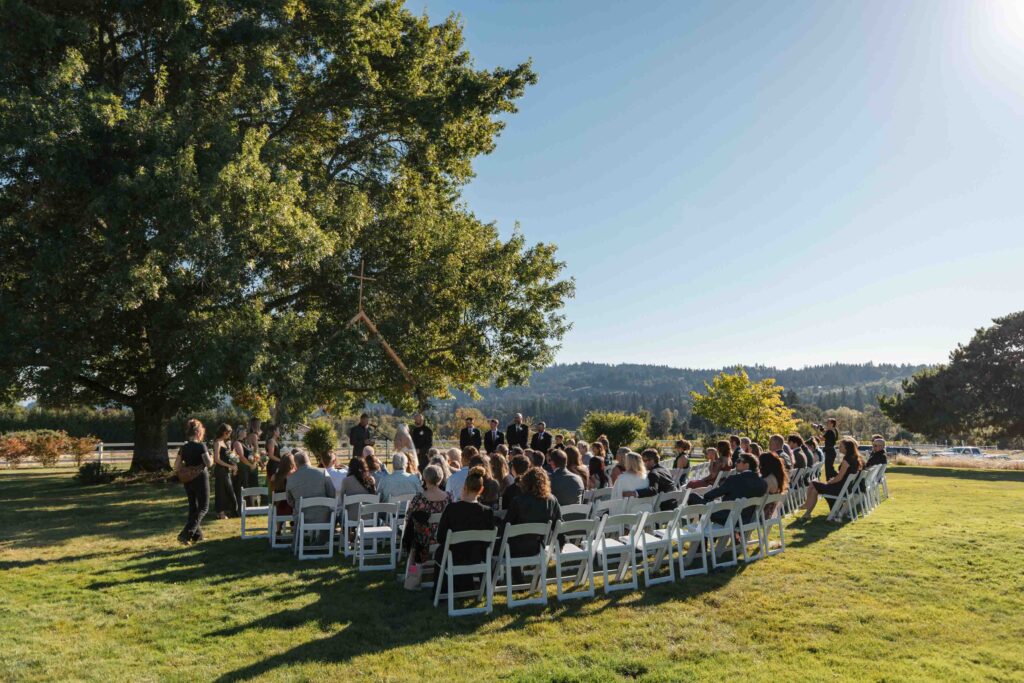
5:00pm Ceremony
5:30pm Ceremony Ends
5:35pm Cocktail Hour Starts
5:40pm Family Formals
6:00pm Guests Are Seated
6:10pm Grand Entrances
6:15pm Speeches + Dinner
6:45pm Sunset Photos
7:10pm First Dance
7:15pm Dance Floor Opens
7:40pm Cake Cutting
7:45pm Party Time!
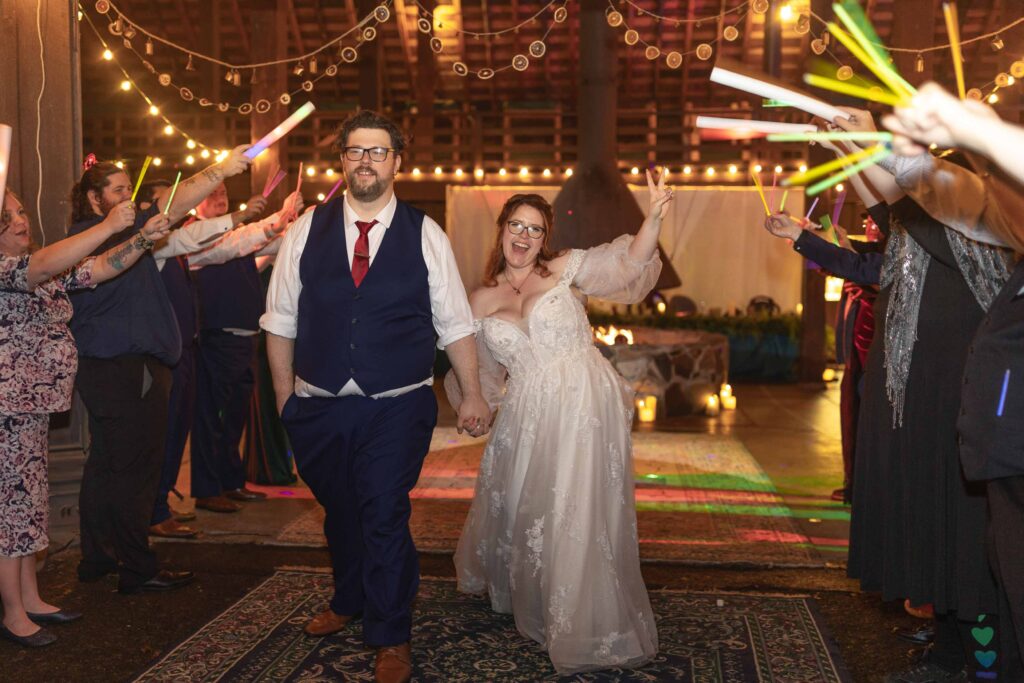
9:15pm Grand Exit
9:30pm End Of Photographer Coverage
8 Hour Timeline
(No First Look)
12:00pm Bridal Hair + Makeup
2:00pm Photographer Arrives
2:10pm Photographer Captures Detail Shots
2:30pm Put on Dress
3:00pm Bridal Party Photos
3:45pm Down Time/Freshed Up
4:00pm Ceremony
4:30pm Ceremony Ends, Cocktail Hour Starts
4:45pm Bridal Party + Family Portraits
5:30pm Couples Portraits
6:00pm Grand Entrances
6:30pm Speeches + Dinner
7:30pm Sunset Photos
7:50pm First Dance
8:00pm Dance Floor Opens
8:30pm Cake Cutting
9:00pm Party Time!
9:45pm Grand Exit
10:00pm Photography Coverage Ends
Frequently Asked Questions (FAQs) About Wedding Timelines
How early should I start planning my timeline?
Start planning as soon as you have your wedding date and venue confirmed. Early planning allows more time to refine details and coordinate with vendors. You can start out with a basic timeline (list format) and add/adjust times as you get closer to your wedding date and get more vendors booked and details figured out.
What if a vendor runs late?
Include buffer times in your schedule. If a vendor runs late, the extra time can help keep the overall timeline on track without significant disruption.
Should I share my timeline with all vendors?
Yes, sharing the timeline with all vendors is essential. This ensures that everyone involved understands the schedule and can plan accordingly. It’s not a requirement, but it might be helpful to keep a public timeline for vendors to see on a non-editable Google Doc. That way when you update the timeline your vendors will all see the updates without you having to reach out to each vendor directly.
How do I make sure the timeline is flexible enough?
Regularly review and update the timeline as the planning process continues. Flexibility is key, so adjust as needed based on feedback and any changes in the day’s plans. Talk to other couple you know that have gotten married, see if they have any input on your timeline. Or as a vendor such as your photographer or day or coordinator for advice.
Your PNW based elopement photographer, personal location scout, logistics assistant, hype woman, and more!
Hey there, I'm Lauren!
I’m here to capture your story in the most natural and authentic way possible. Having lived my whole life in the Pacific Northwest, I bring extensive local knowledge to every shoot, helping you find those hidden gems and breathtaking spots. I love getting to know the people I photograph, and I have a deep appreciation for the raw, real moments. I can't wait to help tell your story!
Let's work together!
